Today I made 18 luggage tags for my Girl Guide travel group.
I started by cutting out two pieces of fabric, 4.5 inches x 7 inches. I then ironed interfacing onto one piece - the one intended for the inside of the tag.
After that, I cut a piece of plastic 4.5 inches x 5 inches and folded it in half so that it was 4.5 inches x 2.5 inches. I then stitched along the fold.


After the pocket is attached, fold 12" of the strap in half and put the open end in the middle of the opposite side of the fabric. Add the fabric for the back of the tag, face down. Sew around 3 sides, leaving the side at the bottom of the pocket unsewn.

Clip the corners and turn the luggage tag right side out.
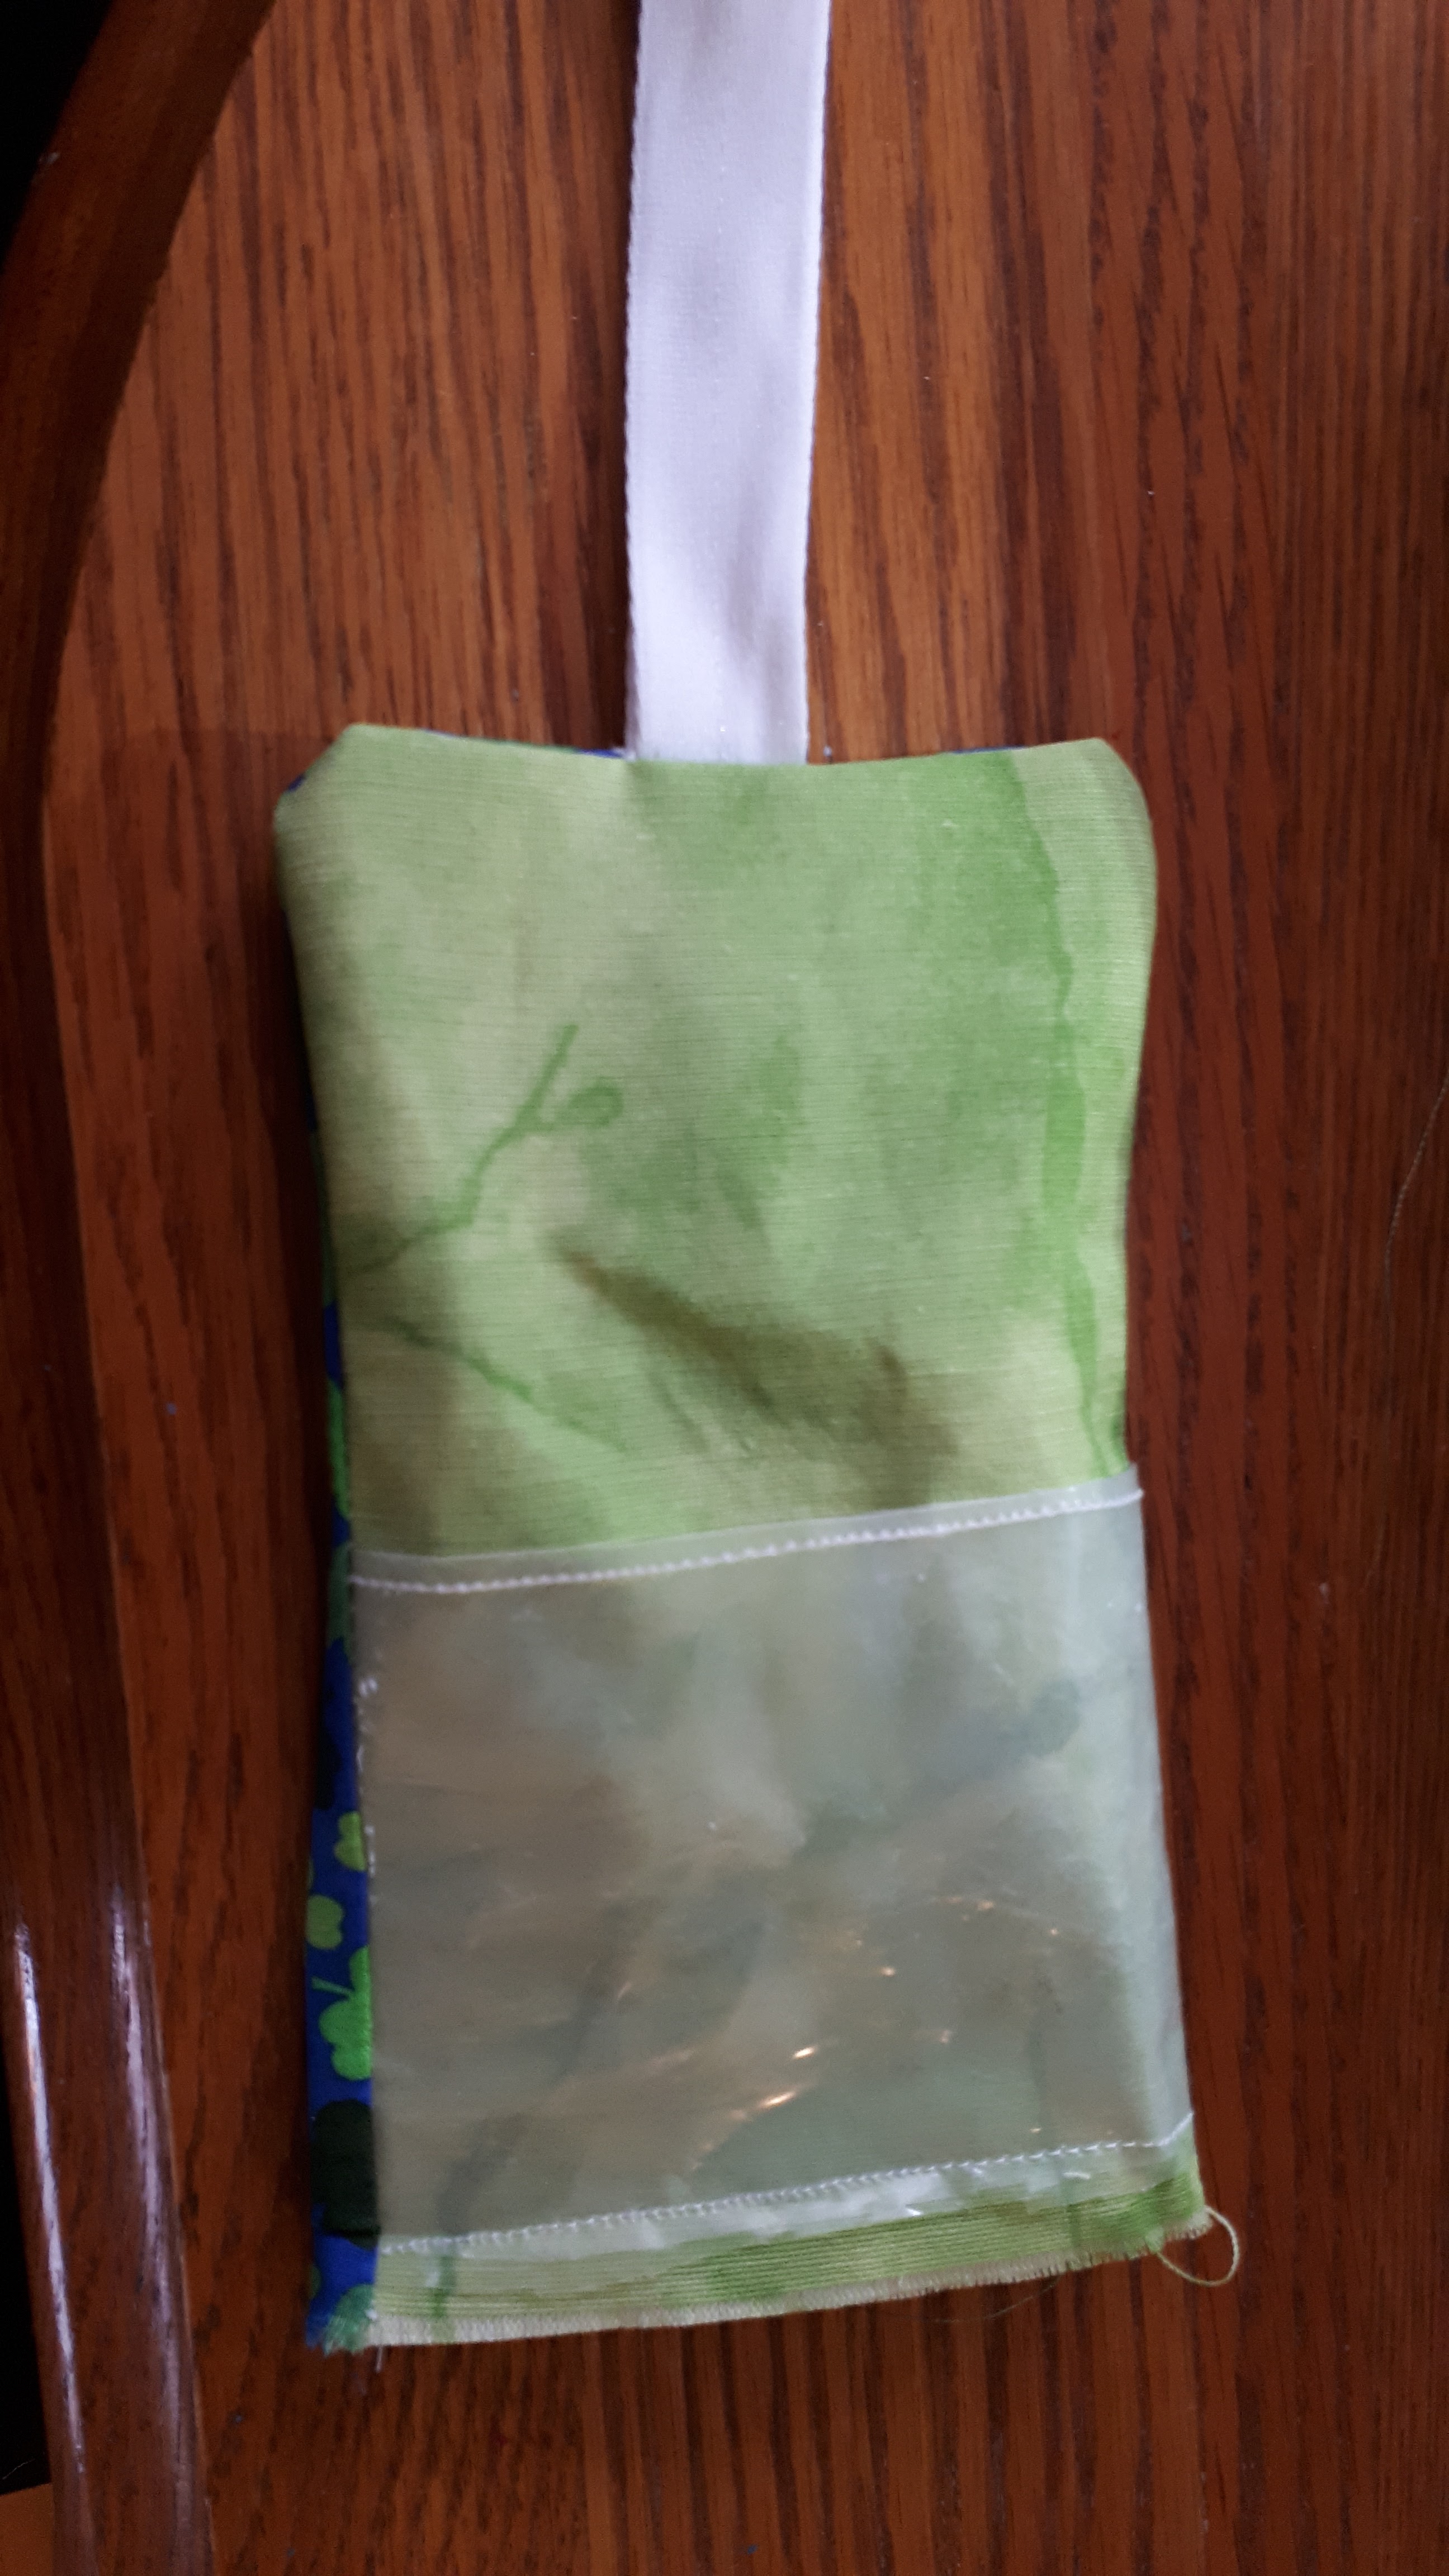
Sew around the luggage tag, starting with the open side, and then end by sewing the open side a second time. Make sure you are catching both ends of the bias tape.

Fold the luggage tag in half and push the strap through the bias tape look. That's it!


I bet the girls will appreciate their new tags!
ReplyDelete